
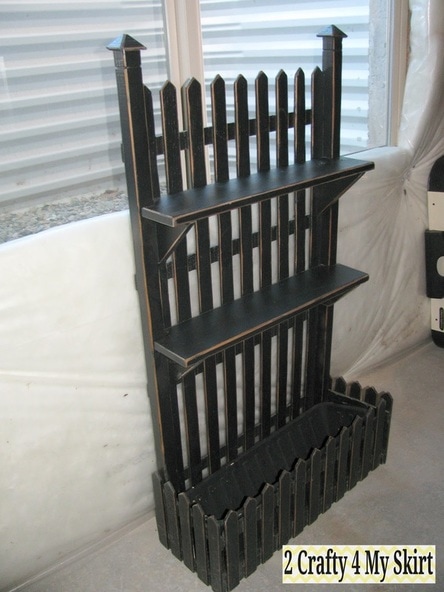
A few months ago my mother-in-law asked me to help her sell a few items. One of them was this planter shelf her father made for her years ago. I posted it on my facebook page and had quite a few people who wanted it. After selling it to the first one to ask I offered that I could custom build a similar one for others who were interested.
Here is the tutorial on how I build mine.
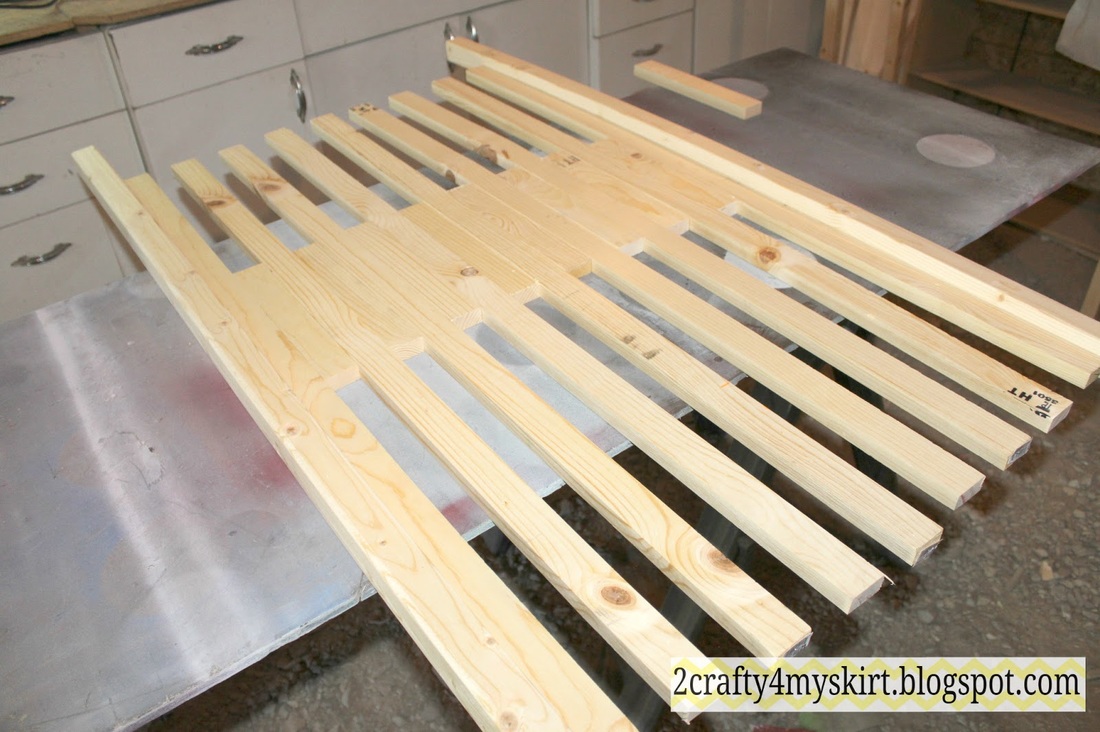
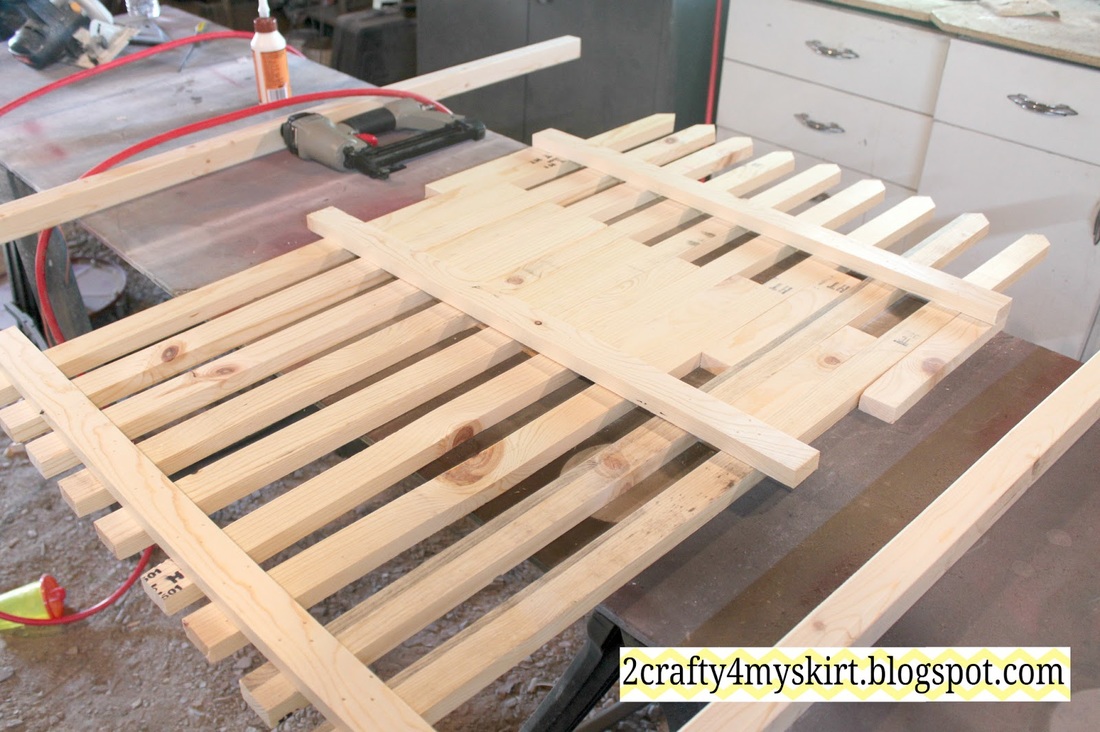
I bought 8ft 1x2's. I cut off 10" and cut what was left in half (about 43"). Then I cut a 2x2 in half. I used the 10 pieces as spacers.
I bought 8ft 1x2's. I cut off 10" and cut what was left in half (about 43"). Then I cut a 2x2 in half. I used the 10 pieces as spacers.
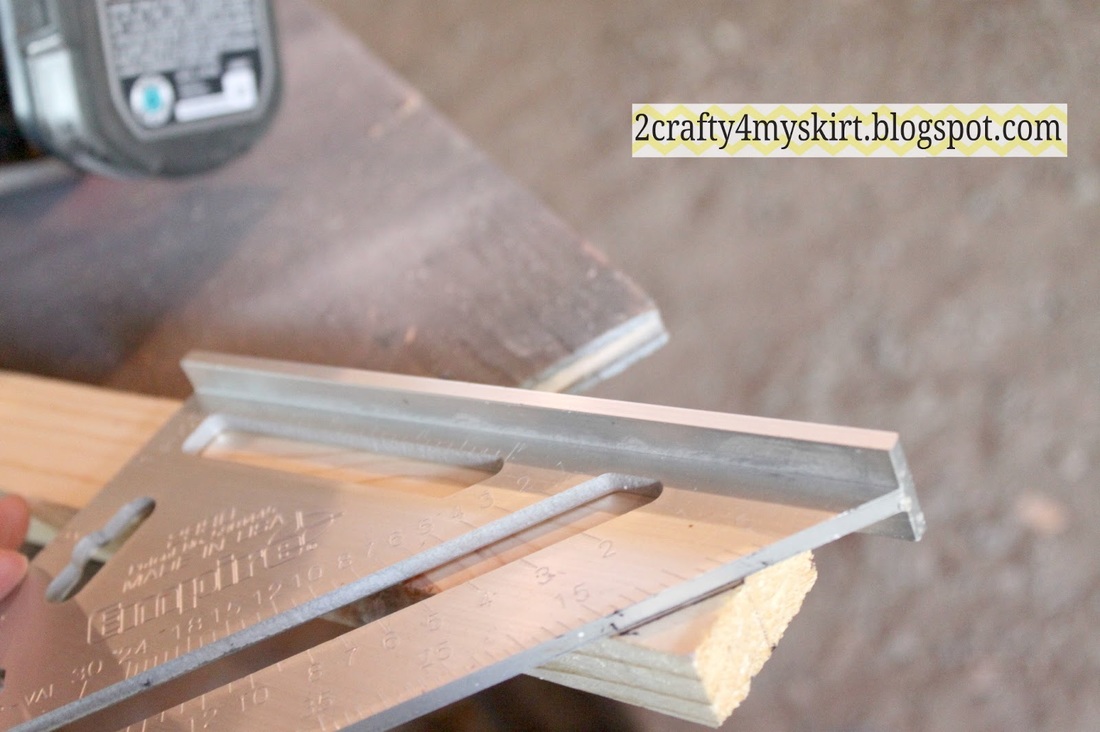
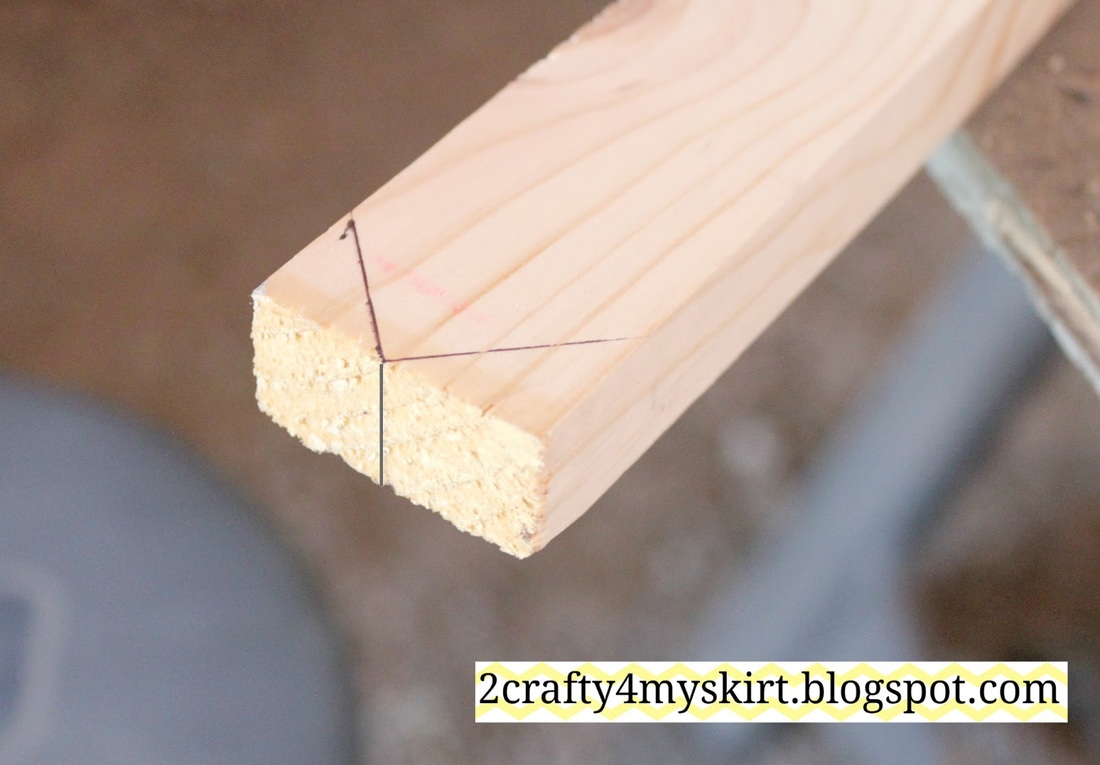
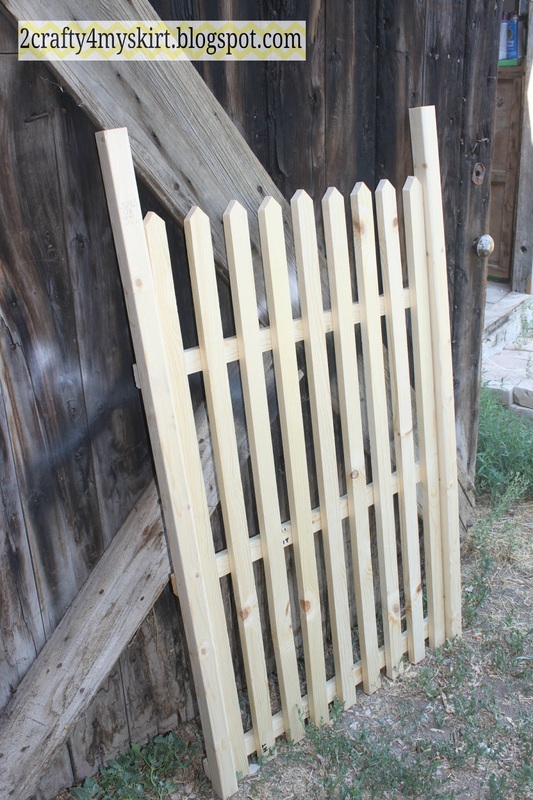
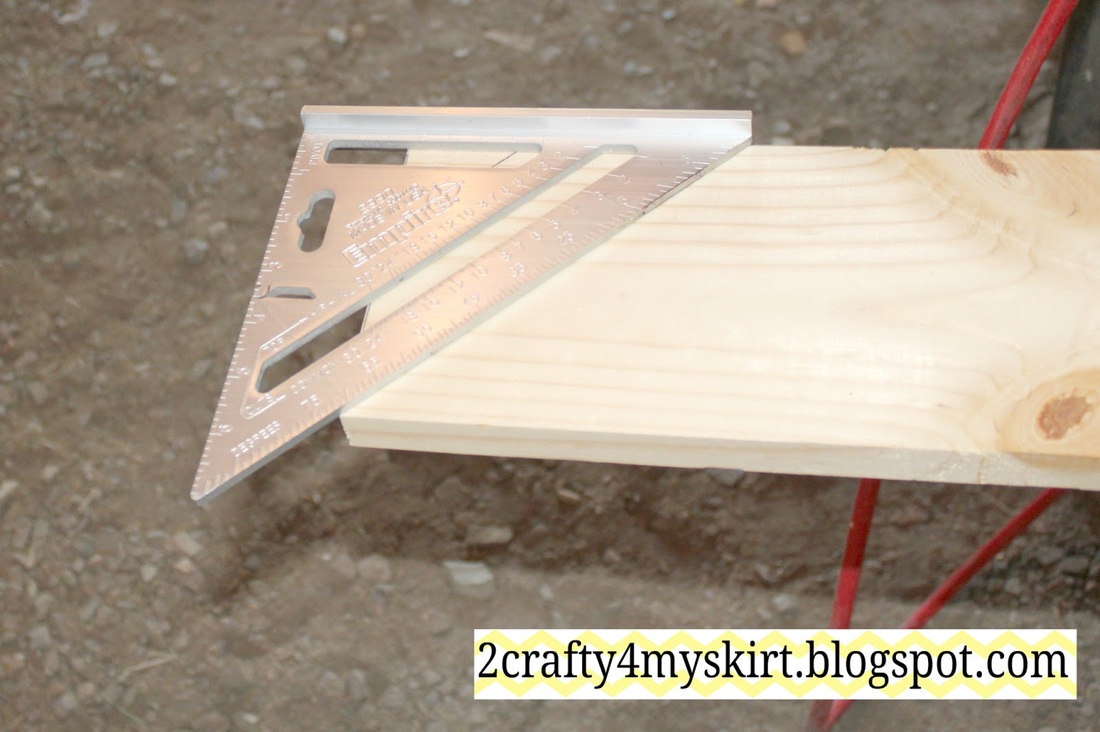
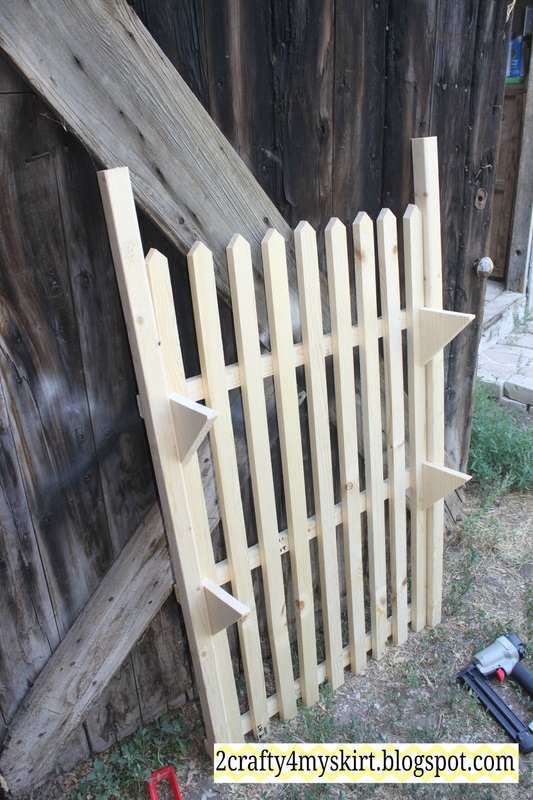
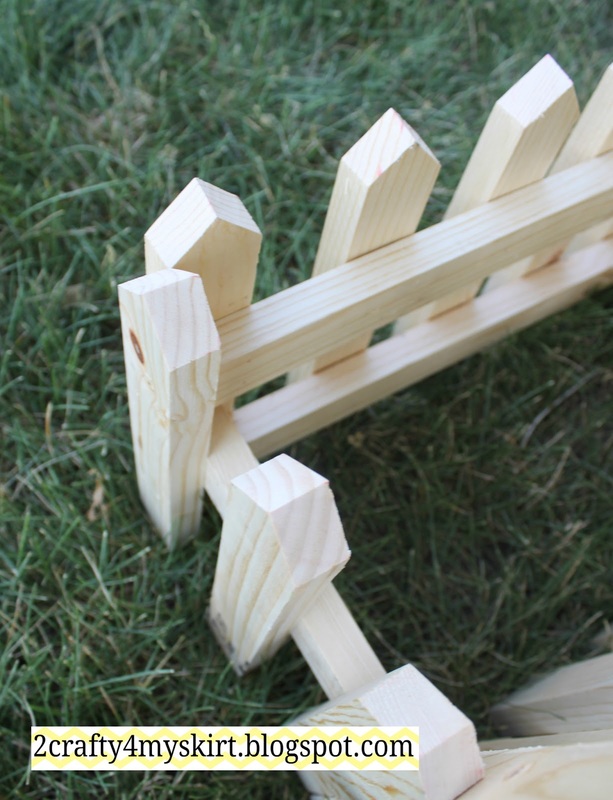
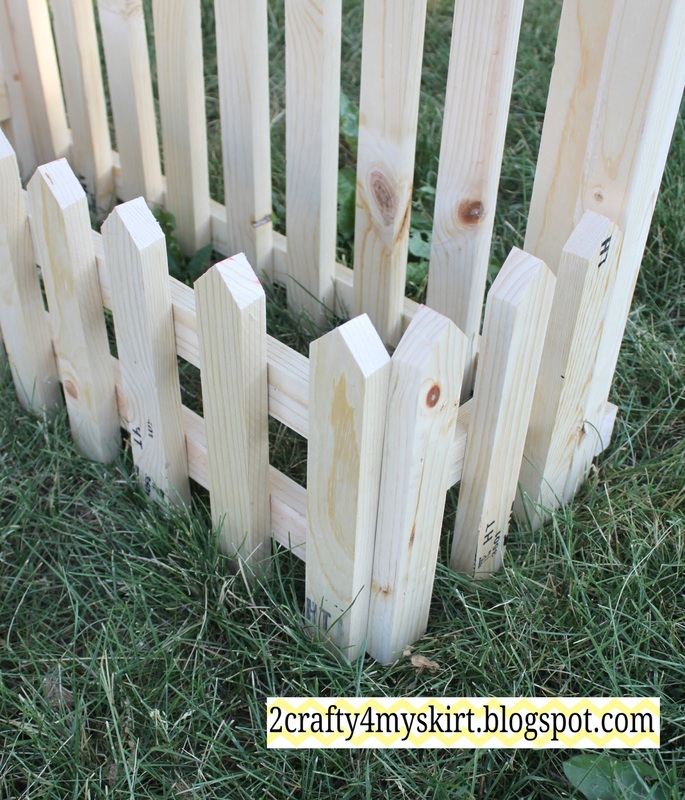
I was going to buy the lathe boards that are already cut to a point but I had a ton of 1x2s already so I used them instead. I used a square to mark my angle, and a circular saw to cut them.
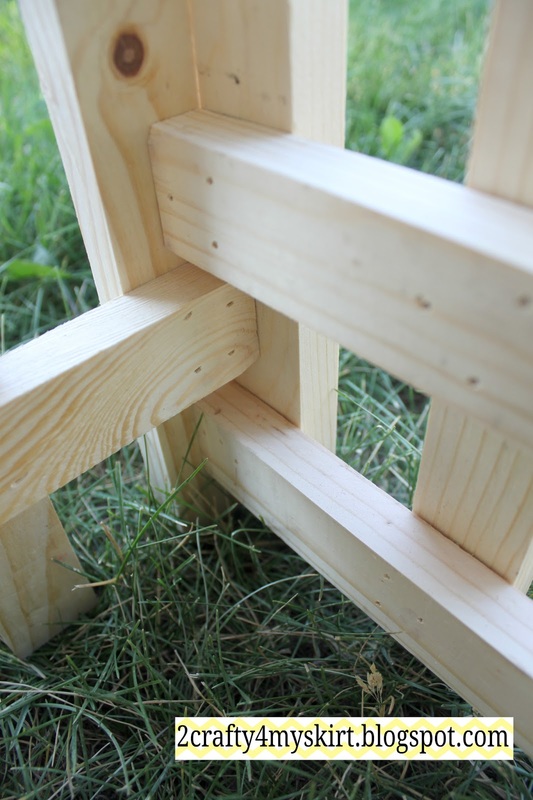
I used 1x2's on the back to hold everything together. I attached them with wood glue and a brad nailer.
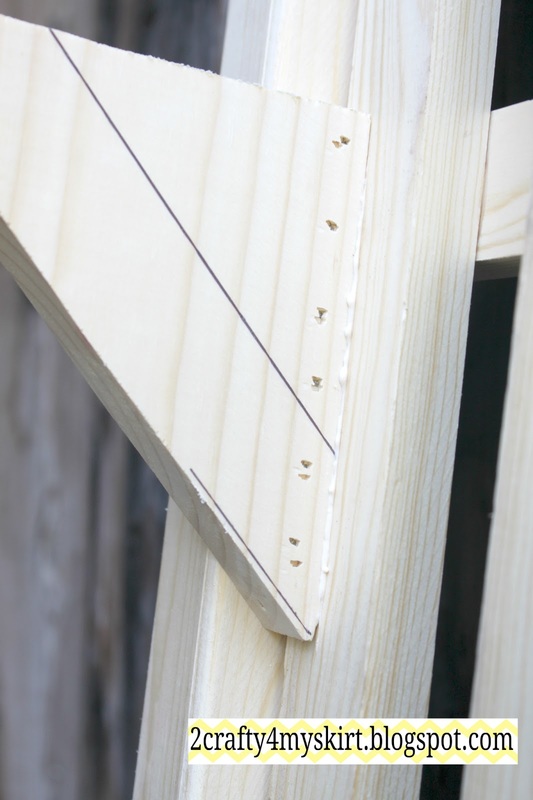
Then I built brackets for the shelf by using my square again and the circular saw.
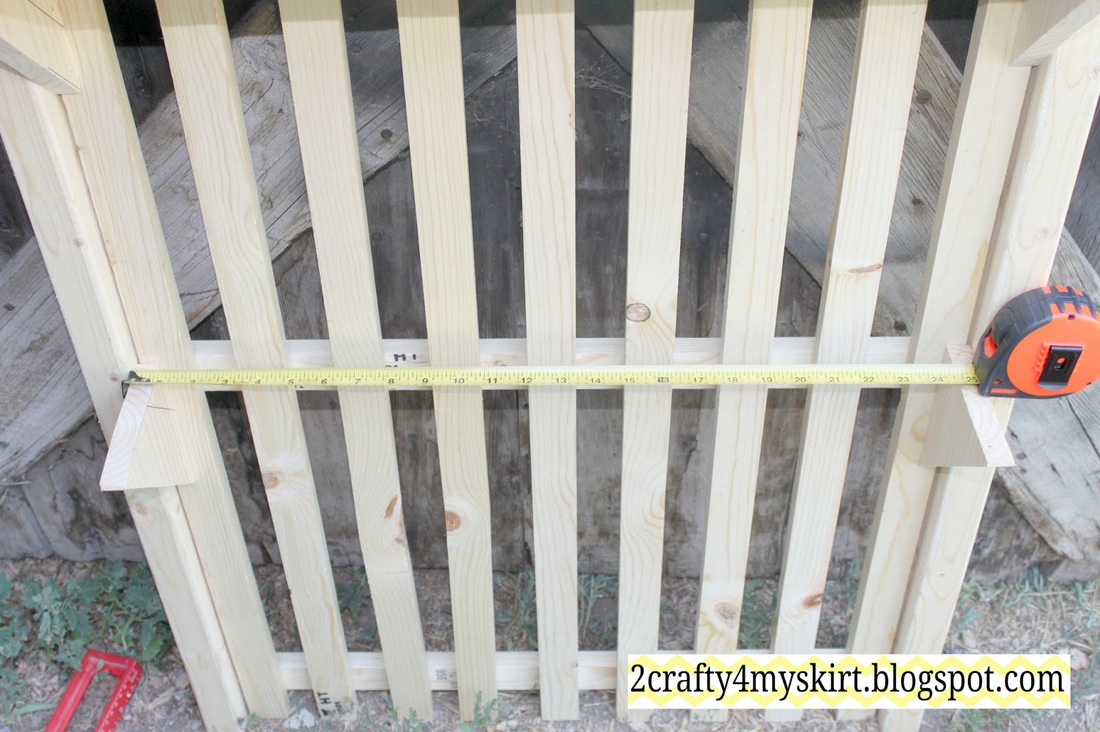
I attached them on the inside of the 2x2 with wood glue and the brad nailer.
After attaching them I measured for each shelf individually.
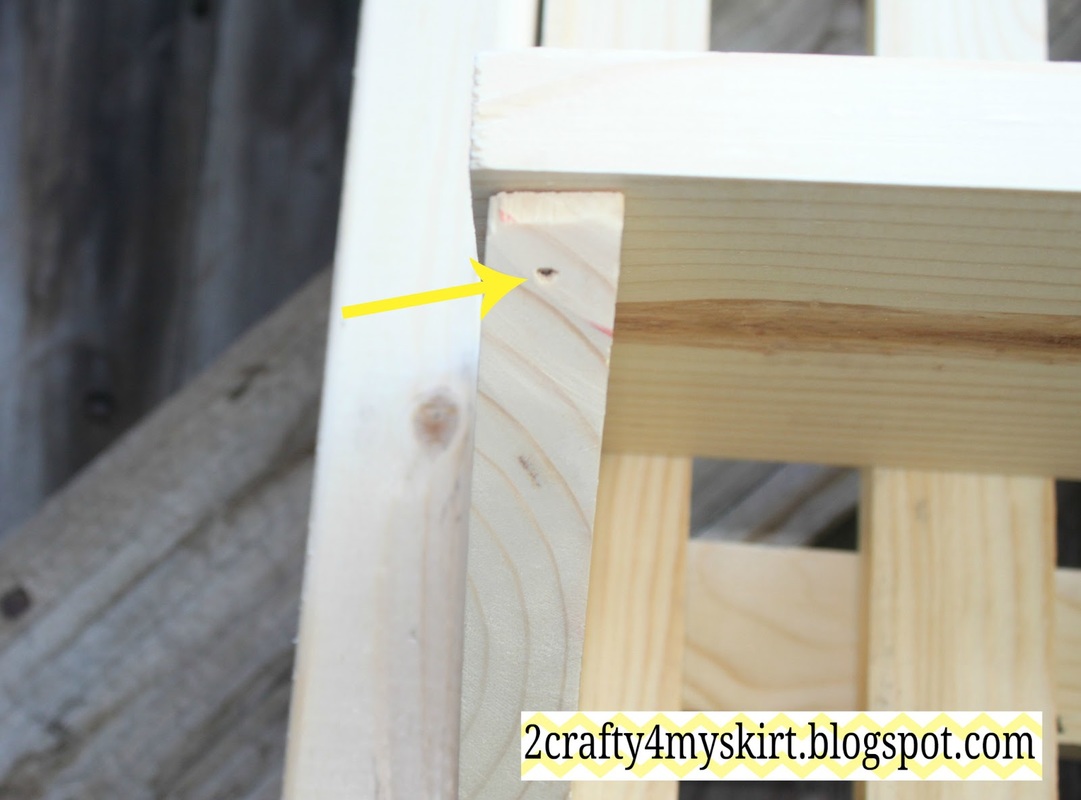
Then I nailed on the shelf with three holes from the top and one from the bottom.

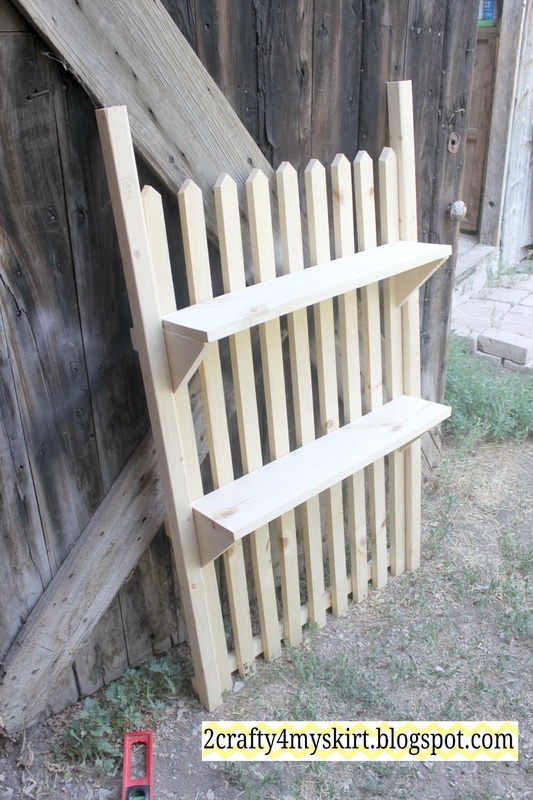
Then I took the pieces I had cut, plus I cut a bunch more. I attached the front ones with two boards on the back and the sides with one. Spacing them so that they would fit like so...
I sold this one unfinished so the customer could paint it however she wanted!